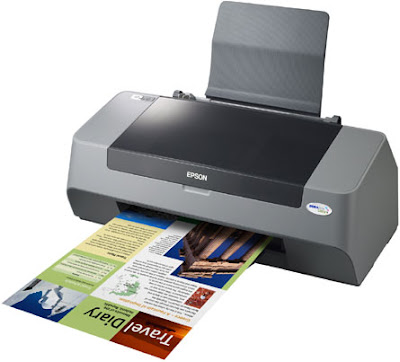
A lot of people gets frustrated due to the lack of a CD for installing a Printer. Here comes the good news for you. You do not have to spend any more time on hunting the CD for continuing the installation process of your Printer. You can now install one with your computer by following certain steps. These steps are discussed below:
• First place your Printer and the computer face to face and verify that all the wires are connected to both the computer and the Printer.
• Now switch on the computer and wait sometime to allow it for booting
• Plug the Printer. Then get the cord of the USB that you can find attached with the Printer and then plug it into the port of the computer
• Turn on the Printer
• Select the tab ‘Start’ and click on ‘Control Panel’
• Select on the option ‘Printers and hardware’
• Get the mouse and select ‘Add Printer’
• As soon as you find the message ‘Welcome to the add printer wizard’ click ‘Next’
• Within the wizard page select on ‘Automatically detect and install plug and play printer’ and then click on ‘Next’
• The installation process of the Printer will make a start automatically as soon as the network detects it.
• Choose the port of the Printer. Utilize the port that has been recommended and click on ‘Next’.
• Choose the Printer and its manufacturer and select on ‘Next’.
• Enter a name or confirm the one that appears in the text box. Then click on ‘Next’.
• Print a page for test and then hit on the button ‘Next’.
• After making a successful completion of the installation process click ‘Finish’.
Finished the above process? Have a nice Printing experience all the way.

No comments:
Post a Comment